
Restore the Shine: Make Your Stainless Steel Watch Look Like New
Polishing your stainless steel watch case and bracelet revives their shine, removes light scratches, and restores crisp edges. With the right tools, compounds, and gentle technique you can safely perform this at home to refresh appearance and significantly extend life.
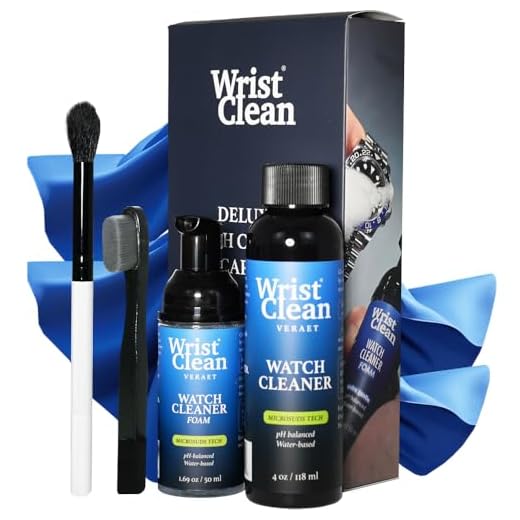
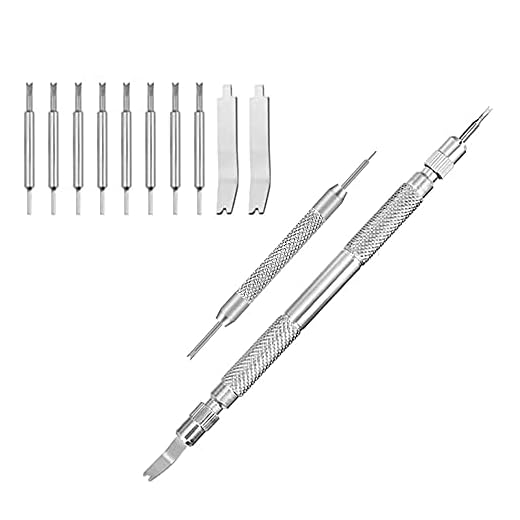
What You’ll Need

Refinish a Watch Like a Pro: Easy Scratch Removal for Brushed
Step 1 — Inspect, Photograph, and Protect
Why taking five minutes now can save you hours (and thousands) later — ever wondered what pros always do first?Examine the watch closely to identify scratches, dents, and differing finishes — high polish (mirror-like) versus brushed/satin (linear grain). Look for deep gouges near lugs and wear at bracelet links.
Photograph the entire watch and close-ups of problem areas for before-and-after comparison. Use good lighting and a macro or phone close-up.
If the watch is water-resistant, remove the bracelet to work more easily; if not, mask vulnerable areas with painter’s tape — crystal, bezel, pushers, crown, and case back — to protect non-metal parts and seals.
Note spring-bar locations and keep tiny parts organized in a labeled dish or tray. For example, place left/right endlinks together so reassembly is quick and accurate.

Step 2 — Deep Clean Before You Polish
Polishing over grime wastes effort — clean first so the finish shines, not the dirt.Combine warm water with a drop of mild detergent and use a soft nylon brush to scrub dirt, skin oils, and grime from the case, bracelet links, and crevices. Remove the bracelet if possible to access endlinks and link holes.
If the watch is rated for it, ultrasonic-clean the metal bracelet separately to dislodge hidden grit; otherwise soak briefly and agitate with the brush. Rinse thoroughly under running water and use a lint-free cloth and gentle compressed air to dry.
Important supplies:
Removing abrasive particles prevents new scratches during polishing.
Step 3 — Choose the Right Method and Compound
One polish doesn’t fit all — will a cloth do, or do you need a wheel and compound?Decide between gentle hand polishing for light scuffs and mechanical polishing for deeper marks. Use hand methods to preserve metal; reserve machines for stubborn scratches.
Use the following depending on damage:
Match the method to the watch’s stainless grade and finish. For example, avoid aggressive compounds on thin electroplated surfaces, and don’t use a felt wheel on a brushed surface unless you’ll reapply the correct satin grain afterward.

Step 4 — Polishing Polished Surfaces
Want mirror shine without ruining edges? Here's how pros avoid the dreaded over-polish.Work in small areas. Apply compound sparingly to a soft microfiber cloth or a felt wheel on low speed. Move with steady, overlapping strokes following the original contours—use the case’s curve as your guide (for example, sweep along a lug arc rather than across it).
Avoid edges, bevels, and engraved areas unless you intend to reshape them. Frequently inspect progress, wipe residue with a clean cloth, and pause to let the metal cool to prevent heat buildup—check temperature with your fingertip between passes.
Finish with a clean microfiber buff to remove haze and restore luster.

Step 5 — Restoring Brushed and Satin Finishes
Scratches? No problem — learn the trick to recreate a factory-like brushed grain.Use a fine Scotch‑Brite pad or very fine abrasive paper to recreate the grain. Secure the case or bracelet in a soft‑jawed vise or holder so it won’t shift. Move the pad in consistent, straight strokes along the original grain direction—never use circular motions.
Work in small sections and replace pads often to keep the grain even. For bracelet links, mask adjacent polished bevels with painter’s tape or use a plastic guide to protect them; for example, wrap tape over the edge of a polished lug before brushing the flat.
Apply light, even pressure and count strokes for uniformity (e.g., 10–15 passes). Finish by lightly buffing edges with a soft microfiber to remove burrs and blend the transition.

Step 6 — Final Clean, Reassemble, and Inspect
Almost there — these last steps make your work last and ensure you didn’t create new issues.Remove all masking tape and protective covers slowly to avoid pulling fresh polish.
Wash the case and bracelet in warm water with a few drops of mild dish soap; agitate gently with a soft brush to lift residues.
Dry thoroughly with a lint‑free towel and use compressed air or a toothpick to clear debris from link gaps and spring‑bar holes.
Reassemble the bracelet, seat spring bars with a spring‑bar tool, and ensure endlinks sit flush.
Perform these quick checks:
Consider a professional pressure test if you opened the case or disturbed seals.
Buff the entire watch with a clean microfiber cloth for a showroom finish.
Keep It Shining
Regular gentle cleaning and cautious polishing keep stainless steel watches looking like new; for deep damage or seal-sensitive repairs, consult a professional watchmaker. Try these steps, share your before-and-after photos, and join the community of watch-care enthusiasts—start now and proudly.
Okay real talk — how often should you polish? The guide’s ‘Keep It Shining’ section says ‘as needed’ but I’m imagining people polishing their watches every weekend like it’s a car 😂
I try to only do a light polish every 6–12 months and full procedures maybe once a year. Also, be careful: every polish removes metal, so don’t overdo it. Anyone else limit polishing frequency?
Exactly — polishing removes material and can alter dimensions/lines. Your 6–12 months light polish and annual full procedure is sensible for regular-wear pieces.
Also depends on what you wear it for — office wear vs manual labor will change how quickly it accumulates scratches.
I space it out too. My OCD wants to polish more often but restraint is key 😂
I only deep polish when there’s visible damage. Light cleaning weekly, wipe-downs daily.
Helpful guide but felt a bit light on how to match the grain on satin/brushed finishes (Step 5). You mention using Scotch-Brite and abrasive pads, but what’s the best grit progression and how do you keep the lines uniform across links vs case sides?
Also, any suggestions for protecting bezel inlays during polishing? Mine has painted markers that I don’t want to risk.
Agree on tape for bezel. Also, test on a hidden link first to dial in the stroke length and pressure.
To keep lines uniform, I cut a small jig from cardboard to steady my hand when doing bracelet links. Not perfect but helps with alignment.
Great questions. For brushed/satin: start with a coarser Scotch-Brite to re-establish the grain (work in the direction of the original brush), then refine with a finer pad—usually two stages suffice. Keep consistent strokes and pressure. For bezel inlays, mask thoroughly with good-quality tape and avoid rotary tools near the paint.
Grit progression tip: think coarse to fine, but less is more — you don’t want to create deeper scratches than necessary.
Quick question: For Step 3 (compound selection), does the guide recommend specific brands for beginners? I don’t want to ruin my GMT II trying an experimental polish. Also — hand-polish vs Dremel with polishing wheel? Which is less risky for newbies?
Cape Cod cloth saved my poor Submariner’s polished center links — gentle and idiot-proof.
If you go Dremel, get a speed controller and test on a dead stainless bit first. Low speed, light pressure.
One more note: always document with photos before using power tools so you can compare and, if needed, explain changes later.
We suggest starting with non-abrasive compounds like Cape Cod cloths or a fine jeweler’s rouge. For beginners, hand-polishing is safer — gives you more control. Power tools like Dremels can be used, but only with low speed, small heads, and after you’ve practiced on scrap metal.
Hand-polish is the way to go your first few times. I tried a rotary tool once and nearly cried 😂
Loved the ‘Inspect, Photograph, and Protect’ step. Took me like 10 minutes to photograph mine and wow, seeing the before pic gave me second thoughts about polishing 😂
Question: do you recommend removing the bracelet entirely for polishing or just doing it assembled? I hate tiny pins, lol.
If you’re comfortable, removing the bracelet gives better access for uniform polishing and protects the spring bars. But if you’re not into tiny pins, you can mask and work carefully with the bracelet attached — just take extra care around the lugs.
I remove mine every time — easier to hold and you avoid accidentally re-scratching the case. Buy a cheap spring bar tool, it’s worth it.
Long post incoming because I have feelings about watch polishing 😂
I followed the guide exactly for my old Seiko: Step 1 photos, Step 2 deep clean with mild detergent, then Step 3 choosing the right compound (I used jeweler’s rouge like you suggested). The bracelet came out amazing — almost like new.
Couple of things:
1) I kinda messed up a brushed section the first time (operator error), but Step 5 helped me re-finish it properly.
2) Took way longer than I thought (my fault, I was slow and picky).
Overall 10/10 would recommend. My only gripe: wish there were more close-up pics for the brushed finish progression.
Thanks for the detailed run-through, Maya — love the enthusiasm! Good note about the time it takes; polishing is definitely patient work. We’ll add more close-up shots of the brushed finish in the next update.
Same, I misjudged a brushed section once and had to sand it back. Patience & practice is everything 😅
Solid article — quick and practical. I appreciate the ‘Keep It Shining’ tips at the end. A short, useful read.
Thanks, Lucas. Glad the maintenance tips were useful — small regular care makes a big difference.
Totally. Weekly wipe-downs with a microfibre and occasional deep clean keeps everything happy.
First try here and oops I forgot to mask the crown area — left a tiny scrape on the edge. Live and learn. 🙈
Question: any recommendations for handling folded-link bracelets vs solid-link for polishing? My old bracelet is folded and thin — worried about heating or deforming it with too much elbow grease.
If it’s especially fragile, consider having a pro handle it. Sometimes it’s cheaper than replacing a snapped link later.
Agree — folded links are delicate. I tend to skip heavy abrasives and stick to Cape Cod cloths or a fine paste.
For folded-link bracelets be extra gentle: use lower pressure, avoid power tools, and limit heat buildup (work in short bursts). If the bracelet is very thin, focus on light surface polish rather than aggressive material removal.
Great step-by-step — I tried the deep clean (Step 2) this weekend and it really made the polishing stage so much easier. One tip I’d add: use a soft-bristled toothbrush around the lug holes before you start polishing the bracelet links. It saves you from trapping grit under the polish.
Also, for Step 4 I went with a microfiber and a very light compound and it removed light swirls without killing the gloss. Thanks for including photos in Step 1 — helped me track before/after.
Ooooh toothbrush trick — genius. I always miss the tiny crevices, now I’ll add that to my routine.
Agree on the light compound. What brand did you use? I’m paranoid about overdoing it.
Awesome tip about the lug holes — that’s exactly the kind of detail that can save a finish. Glad Step 1’s photos were useful for comparison!
Nice guide. For Step 6, I like that you emphasized final clean and inspect. After reassembly I use a quick ultrasonic bath (if the watch is water-resistant) and then a lint-free cloth swipe. Anyone else use ultrasonic cleaners between reassembly steps?
Yep, I only ultrasonic the bracelet and clasp. Never the head unless it’s a diver and tested afterward.
Ultrasonic is great for bracelets and loose parts, but we generally advise caution with full watches unless they’re rated and sealed. Good practice to separate bracelet from head first.
Pro tip: put a small towel under the ultrasonic tray to reduce noise. 😄