If your marine chronometer is giving you trouble, don’t worry! This step-by-step guide is here to help you troubleshoot and fix common issues. You’ll be able to identify the problem and get your chronometer back on track in no time.
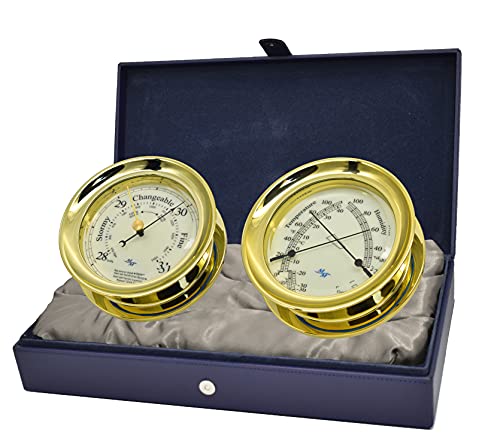
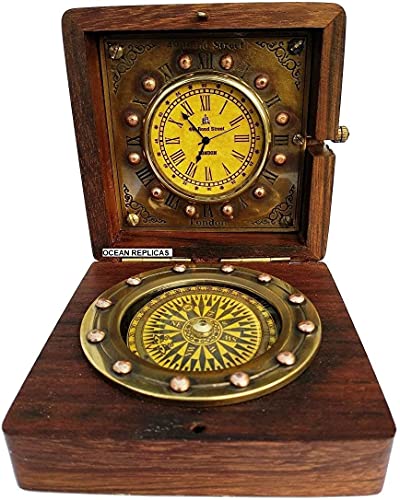
Top Timekeeping Instruments for Seafaring


Check Power Source
To ensure accurate functioning of your marine chronometer, it is essential to verify that it is properly connected to a power source. Follow these steps to check the power source and make any necessary replacements:
- Inspect the connection: Examine the cable or wires that connect the chronometer to the power source. Ensure that they are securely attached and free from any damage or loose connections.
- Check the battery: If your marine chronometer is powered by a battery, locate it and inspect its condition. Look for any signs of corrosion or leakage. If the battery appears damaged, it needs to be replaced.
- Test the power supply: If your chronometer is connected to a power supply, such as an AC adapter or a power socket, verify that it is providing adequate power. Plug another device into the same power source to confirm its functionality. If the power supply is malfunctioning or dead, replace it with a new one.
- Replace the battery or power supply: If you have determined that the battery or power supply is faulty, carefully remove and replace it with a new one. Ensure that you use the correct type and model specified by the manufacturer.
Remember, a weak or dead power source can greatly affect the accuracy and functionality of your marine chronometer. By regularly checking and maintaining the power source, you can ensure optimum performance and reliability.

Check for Loose Connections
Check for Loose Connections
To ensure that your chronometer is functioning properly, it is important to inspect the connections between the chronometer and any external devices or instruments it may be connected to. Follow these steps to check for loose connections:
- Inspect all cables and connectors: Carefully examine all the cables and connectors that are connected to the chronometer. Look for any signs of damage such as frayed wires or bent pins.
- Ensure secure connection: Make sure that all cables and connectors are securely plugged in. Firmly push each connector into its respective port to ensure a stable connection.
- Tighten loose connections: If you find any loose connections, use your fingertips or a suitable tool to tighten them. Ensure that the connection is secure, but be careful not to overtighten and damage the connector or port.
- Replace faulty connections: If you come across any damaged or faulty cables or connectors, it is advisable to replace them with new ones. Faulty connections can lead to inaccurate readings or complete malfunction of the chronometer.
Remember, a thorough inspection of the connections between your chronometer and external devices is crucial to avoid any potential issues. By following these steps and addressing any loose or damaged connections, you can ensure the reliable and accurate performance of your chronometer.

Calibrate the Chronometer
If your chronometer is displaying inaccurate time, don’t worry! It is likely that you just need to calibrate it. To calibrate your chronometer, first consult the user manual or manufacturer’s instructions for specific calibration procedures. Once you have the instructions, follow them carefully to ensure accurate timekeeping.
Make sure you have a clear understanding of the recommended calibration procedure. Take note of any specific tools or equipment mentioned in the instructions that you may need for the calibration process. Gather everything you need before you begin.
Next, find a quiet and well-lit area where you can work on calibrating your chronometer. Make sure you have a stable and flat surface to place your chronometer on during the calibration process. Avoid any areas with excessive vibrations or electrical interference, as this can affect the accuracy of the calibration.
Now, it’s time to start the calibration process. Follow the step-by-step instructions provided in the user manual or manufacturer’s instructions. Pay attention to any specific adjustments or settings that need to be made. Use the imperative verb form provided in the instruction to make the necessary adjustments or follow the indicated steps.
Once you have completed the calibration procedure, verify if the time displayed on your chronometer is accurate. Compare it with a reliable and accurate time source, such as an atomic clock or a trusted timekeeping device. If the time on your chronometer matches the reference time source, congratulations! You have successfully calibrated your chronometer.
However, if you find that the time is still inaccurate after calibration, you may need to repeat the calibration process or seek assistance from a professional. It is important to regularly calibrate your chronometer to maintain accurate timekeeping.


Clean the Chronometer
Dust, dirt, and moisture can have a detrimental effect on the performance of a marine chronometer. To ensure its optimal functionality, it is essential to clean the exterior of the chronometer regularly. Start by obtaining a soft, lint-free cloth that is suitable for delicate surfaces. Gently wipe the entire exterior of the chronometer using the cloth, making sure to remove any dust or dirt that may have accumulated. It is crucial to avoid using any harsh chemicals or abrasive materials, as these can cause damage to the surface of the chronometer. If, after cleaning, the issue persists, it is advisable to take the chronometer to a professional for a thorough and meticulous cleaning.

Reset the Chronometer
If your chronometer is not functioning properly, try resetting it to its default settings. This can help resolve any software glitches or malfunctions. Before proceeding with the reset, it is important to note that this action may erase any customized settings or data stored on the device. Therefore, it is recommended to proceed with caution and make a backup of any important data, if possible.
To reset the chronometer, follow these steps:
- Refer to the user manual or manufacturer’s instructions: Every chronometer may have a different reset process, so it’s essential to consult the device’s specific user manual or instructions provided by the manufacturer. This will ensure that you are following the correct procedure.
- Locate the reset button or option: Look for a physical reset button on the device or a software option within the settings menu. The user manual or manufacturer’s instructions will indicate the exact location.
- Press and hold the reset button or select the reset option: If there is a physical reset button, use a small pointed object (such as a paperclip) to press and hold it for a few seconds. If the reset option is in the settings menu, navigate to the designated section and choose the reset option.
- Follow any additional prompts: Depending on the device, you may need to confirm the reset action or enter a passcode to proceed. Follow any on-screen prompts or instructions provided by the device.
- Wait for the reset process to complete: Once the reset process is initiated, give it some time to complete. This may take a few minutes, during which the chronometer may restart or display a progress bar.
- Reconfigure and test the chronometer: After the reset is complete, you may need to reconfigure your chronometer with your desired settings or set it up again as if it were new. Test its functionality to ensure that the reset has resolved any issues.
By following these steps and referring to the user manual, you can easily reset your chronometer to its default settings. This can potentially fix any software-related issues you may be experiencing.

![Rule Mate 500 Fully Automated Bilge Pump - 12V [RM500B]](https://m.media-amazon.com/images/I/31YtYLCRGAS.jpg)

Contact Manufacturer or Service Center
If you have exhausted all the troubleshooting steps provided and are still experiencing problems with your chronometer, it is advisable to seek professional assistance. To do this, get in touch with the manufacturer’s customer support team by calling their helpline or visiting their website. Provide them with the necessary details, such as the model number, serial number, and a clear description of the issue. They will guide you through additional troubleshooting steps or instruct you on how to proceed with repair.
In case contacting the manufacturer directly is not feasible, another option is to take the chronometer to an authorized service center. These centers are equipped with trained technicians who specialize in diagnosing and repairing watches. Look up the nearest service center in your area using the manufacturer’s website or by doing a quick online search. Drop off your chronometer at the designated location along with any relevant documentation, such as warranty information or proof of purchase. The technicians will assess the problem and provide you with an estimate for the repair, if necessary.
Remember, seeking professional help ensures that your chronometer receives the expertise it requires, increasing the chances of a proper fix.
Maintain Regular Servicing
Schedule regular servicing for your marine chronometer to prevent future issues and ensure its longevity. Follow the manufacturer’s recommended maintenance schedule and take your chronometer to a qualified professional for inspection and servicing. Regular servicing is essential to keep your chronometer in optimal working condition. It involves a thorough inspection of all the components, cleaning, lubrication, and adjustment if necessary. By adhering to this maintenance routine, you will not only prevent potential problems but also extend the lifespan of your marine chronometer, allowing you to enjoy accurate timekeeping on your seafaring journeys.
Wrap-up and final thoughts
In conclusion, by implementing the aforementioned troubleshooting techniques, you can effectively address and resolve the common issues that may arise with your marine chronometer. With proper attention to the power source, connections, calibration, cleanliness, and regular maintenance, you can ensure that your chronometer remains in peak operating condition. However, should further assistance be required, it is advisable to seek professional help for a thorough and precise resolution.
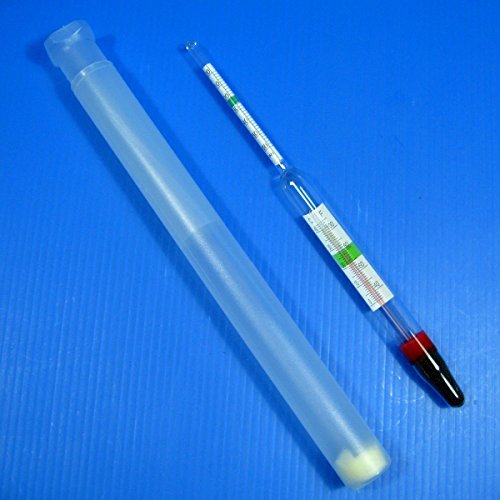
Necessary Equipment