In this step-by-step guide, you will learn how to set your home location on your GPS watch for accurate directions and distance calculations.
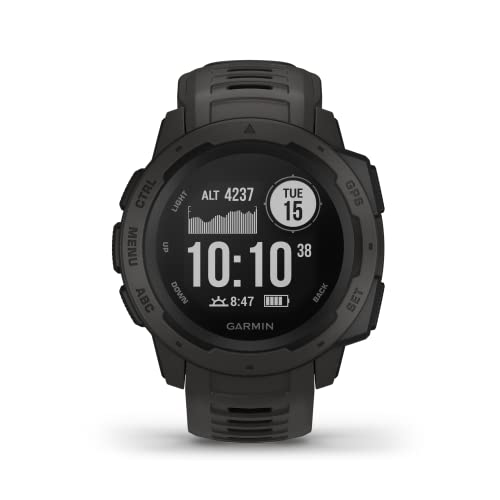
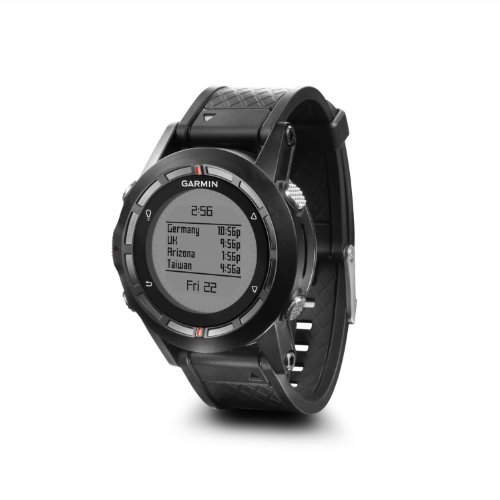
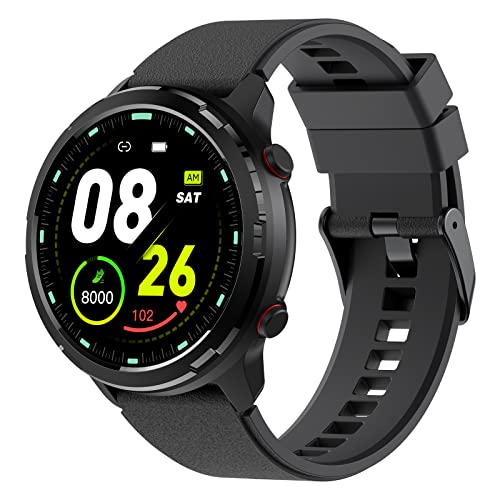
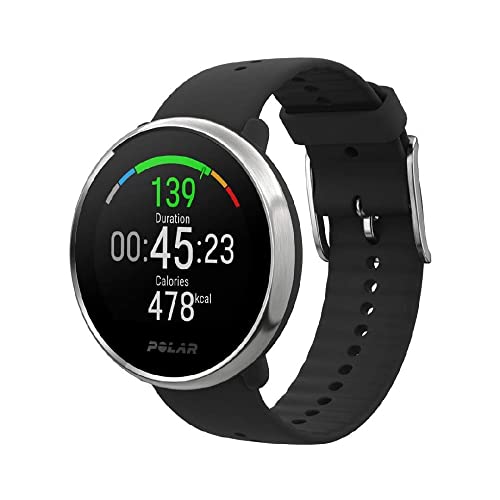
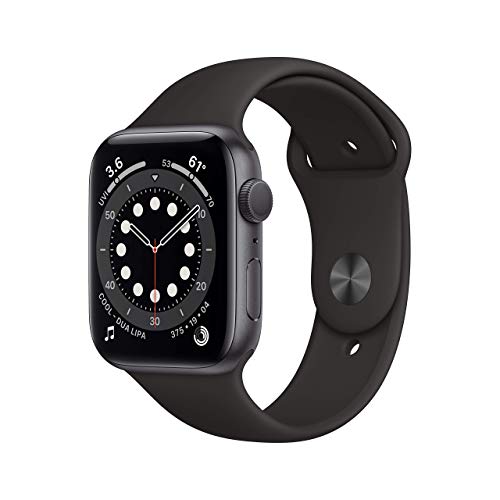
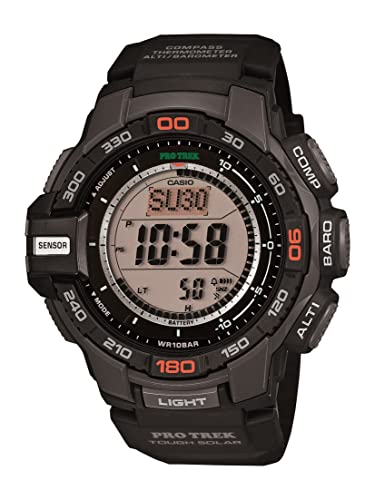
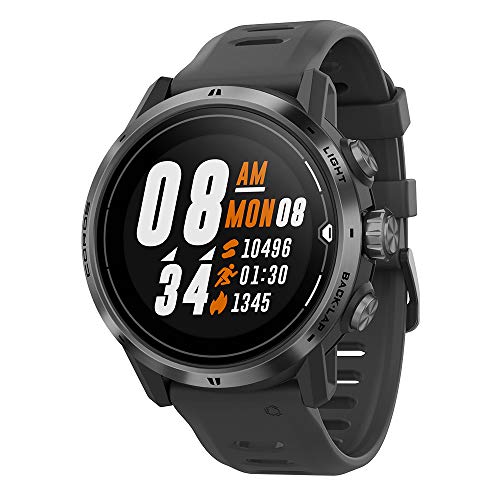
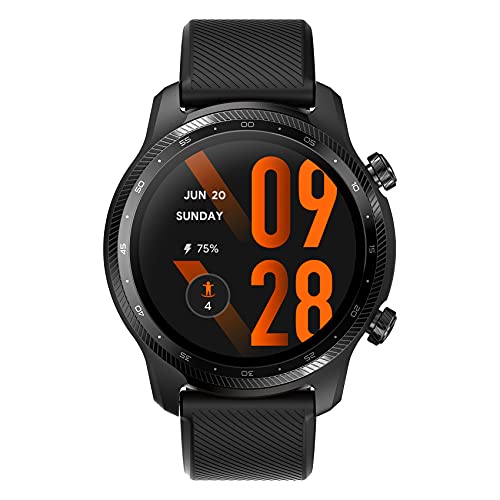
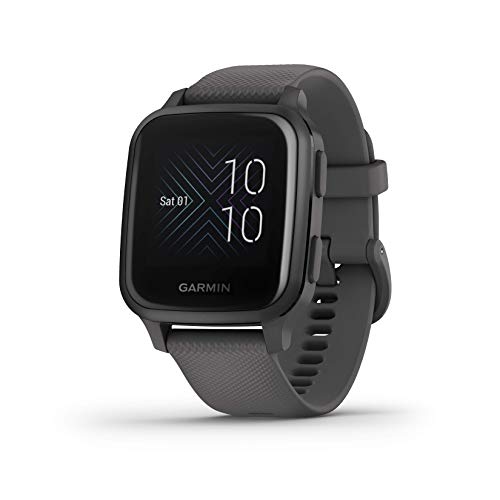
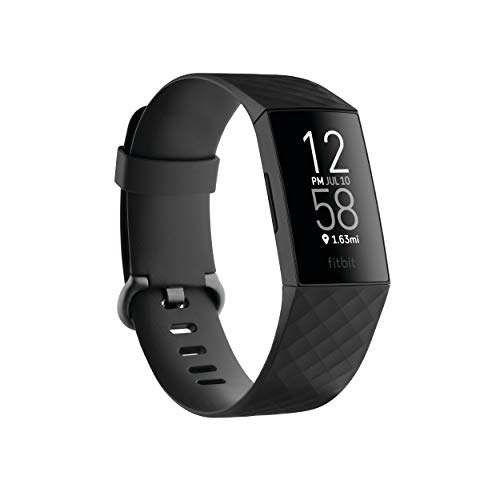
Top-rated GPS watches
Power on your GPS watch
- Check battery level: Before using your GPS watch, it is crucial to ensure that it is sufficiently charged. Check the battery level by pressing the power button or looking for an indicator on the screen. If the battery is low or empty, connect your GPS watch to a power source using the provided charging cable.
- Connect to power source: Locate the charging port on your GPS watch and plug one end of the charging cable into it. The other end of the cable should be connected to a USB power source such as a wall adapter or computer. Ensure that the connection is secure to avoid interruptions during the charging process.
- Allow full charge: Once connected, let your GPS watch charge fully. This may take some time, so it is advisable to be patient and avoid using it until it reaches 100% battery level. You can check the progress on the watch’s screen or through any charging indicators it may have.
- Confirm full charge: Once your GPS watch has reached a sufficient battery level, disconnect it from the power source and press the power button to turn it on. Check if the watch powers on properly and if the battery level shows as full. If everything looks good, your GPS watch is now ready for use.
By following these simple instructions, you can ensure that your GPS watch is powered on and fully charged, allowing you to make the most of its features and functionalities.


Access the settings menu
To access the settings menu on your GPS watch, follow these steps:
- Locate the menu button: Look for a button labeled “Menu” or a similar icon on your watch. This button is typically found on the side or bottom of the watch face.
- Press the menu button: Press the menu button to bring up the main menu on your watch’s display. You may need to press and hold the button for a few seconds to activate the menu.
- Navigate to the settings option: Use the navigation buttons or the touchscreen, if available, to scroll through the menu options. Look for an option labeled “Settings” or an icon that represents settings, such as a gear or wrench.
- Select the settings option: Once you have highlighted the “Settings” option, press the enter or select button on your watch to enter the settings menu. This will open up a new screen with various customization and configuration options.
It’s important to note that the exact location and labeling of the settings menu may vary depending on the model and brand of your GPS watch. If you’re having trouble locating the settings menu, refer to the user manual that came with your watch for detailed instructions and illustrations specific to your device.
Now that you’ve successfully navigated to the settings menu, you can explore and adjust various settings to personalize your GPS watch and optimize its functionality according to your preferences.


Select 'Home Location
Once you are in the settings menu, navigate to find the option for setting your home location. Look for labels such as ‘Home’ or ‘Home Location’, which will indicate the option you need to select. Click on this option to proceed to the next step.
To set your home location, follow these steps:
- Locate the settings menu.
- Scroll through the options until you find ‘Home’ or ‘Home Location’.
- Click on the ‘Home’ or ‘Home Location’ option.
- This will open a new screen or dropdown menu to set your home location.
- Enter your home address or use the map to pinpoint your location.
- Click on ‘Save’ or a similar button to confirm your home location.
By following these steps, you will be able to easily set your home location in the settings menu of your device.


Enter your home address
To enter your home address on your GPS watch, navigate to the ‘Home Location’ menu. Once you have located the menu, you will be prompted to input your home address. To do this, make use of the on-screen keyboard or any available input method on your GPS watch. For instance, if your watch allows voice input, you can simply say your address out loud and it will be transcribed onto the screen.
Take your time when entering your home address and ensure its accuracy. Double-check the address to avoid any errors that could lead to incorrect navigation instructions. For example, if your address is 123 Main Street, make sure you enter it exactly as it appears, without any typing mistakes such as 123 MN Street or 123 Main St.
Remember that accurately inputting your home address is crucial as it helps your GPS watch provide accurate directions to your desired location. By following these steps and inputting the correct address, you’ll ensure that your watch can guide you back home effortlessly.


Save your home location
To save your home location, follow these simple steps:
- Enter your home address: On your GPS watch, navigate to the home location setting. You will usually find this in the main menu or under the settings tab. Once you locate it, select the option to enter your address.
- Example: From the main menu, tap on ‘Settings,’ then select ‘Home Location.’ This will bring up a screen where you can input your address.
- Input your address: Use the on-screen keyboard to type in your complete home address. Make sure to include all necessary details such as street name, number, city, and postcode. Double-check for any errors to ensure accurate results.
- Example: Use the keypad to enter “123 Main Street, Anytown, USA, 12345” as your home address.
- Save your home location: After entering your address, look for a ‘Save’ or ‘Done’ button on the screen. Tap on it to save your home location as a reference point on your GPS watch.
- Example: To save your home location, tap on the ‘Save’ button at the bottom of the screen.
- Enjoy accurate directions and distance calculations: With your home location saved, your GPS watch will now use it as a reference point for providing accurate directions and calculating distances to and from your home.
- Example: When you select a destination or start a workout, the watch will take into account your home location to give you precise directions and calculate distances accordingly.
By following these steps, you can easily save your home location on your GPS watch, allowing for more accurate navigation and tracking capabilities.
Final Tips for Setting Home Location
In conclusion, by following the steps outlined in this blog post, you can easily set your home location on your GPS watch. This feature will enhance your overall experience by providing precise directions and distance measurements, ensuring that you never lose your way. Enjoy the convenience and peace of mind that comes with knowing your GPS watch is ready to guide you back home.
Master Your GPS Watch
How to Set and Delete the Home Location on Garmin Nuvi 54lm using GPS City
Getting Started with your GPS Watch
- Familiarize yourself with the different buttons and functions: Read the user manual and understand the purpose of each button on the GPS watch
- Charge the watch: Ensure that the watch is fully charged before using it for the first time, as a low battery may affect its performance
- Connect to GPS: Turn on the GPS function on your watch to connect it to the satellite, ensuring accurate tracking of your location
- Set up preferences: Use the settings menu to customize the watch according to your preferences. This may include selecting the desired sports mode, setting a distance or time goal, or changing the display settings
- Start your activity: Select the relevant sports mode (e.g., running, cycling, swimming) and press the start button to begin tracking your activity
- Review your data: After finishing your activity, review the data on the watch’s display, including distance covered, time elapsed, heart rate (if available), and other relevant metrics
- Sync with your phone or computer: Connect your watch to a smartphone or computer using the provided software or app to download and analyze your performance data
- Explore advanced features: Once you’re comfortable with the basic functions, consider exploring the watch’s advanced features, such as interval training, sharing your workout data with friends, or using navigation services
Frequently Asked Questions about GPS Watches
What are some popular brands that manufacture GPS watches?
Some popular brands that manufacture GPS watches include Garmin, Apple, Suunto, Polar, Fitbit, and TomTom.
Are there any subscription or monthly fees required for using a GPS watch?
Yes, there can be subscription or monthly fees associated with using a GPS watch. Some GPS watches, especially those that offer advanced features like live tracking, coaching, or music streaming, may require a subscription to access these services. Additionally, certain brands or models require a subscription for accessing detailed maps, routing, or other premium features. However, many basic GPS watches can be used without any additional fees as they rely on built-in GPS technology. It is advisable to research and compare different GPS watch options to determine if any subscription or monthly fees are required.
Are GPS watches waterproof or water-resistant?
GPS watches can be either waterproof or water-resistant, depending on their specific design and specifications. Waterproof watches are designed to be fully submerged in water without any damage or potential malfunction. They typically have a higher water resistance rating, such as 5 ATM (atmospheres) or higher, meaning they can withstand pressures equivalent to being at depths of 50 meters or more.
On the other hand, water-resistant watches are designed to withstand water to some degree, but have limitations in terms of the depth and duration they can withstand. They usually have a lower water resistance rating, such as 3 ATM or 50 meters, indicating that they are suitable for brief immersion or splashes of water but not intended for swimming or diving activities.
It is important to note that the level of water resistance or waterproofness can vary between different GPS watch models and brands. Therefore, it is recommended to check the specifications and instructions provided by the manufacturer to determine the water tolerance of a particular GPS watch.