In this step-by-step guide, you will learn how to set the time on a chronograph pilot watch. Chronograph pilot watches are designed for aviation professionals and enthusiasts, offering various features including accurate timekeeping and a stopwatch function. By following these simple instructions, you will be able to set the time on your watch accurately, ensuring that you always have the correct time at hand.
Top Aviator Timepieces


Step 1: Prepare your chronograph pilot watch
- Charge your chronograph pilot watch fully using a compatible charger or a USB cable.
- Verify that all the functions of the watch are working properly by testing the different buttons and features.
- Spend some time familiarizing yourself with the positioning and purpose of each watch button, paying special attention to the crown and chronograph buttons.
Step 2: Pull out the crown
Gently turn the crown counterclockwise until it is loose, then pull it outwards. The crown is usually situated at the 3 o’clock position on the watch. By doing so, you will activate the time-setting mode, allowing you to adjust the time on your watch.
Step 3: Set the date
- If your watch has a date function, turn the crown clockwise to adjust the date display.
- Make sure not to set the date between the hours of 9 PM and 3 AM as it may harm the internal mechanism.


Step 4: Set the time
- Rotate the crown clockwise until the watch hands reach the desired time.
- Take note of whether it is AM or PM and ensure the hands align accordingly.
- Continue rotating the crown until the desired time is set.
- Make sure to double-check that the hands are correctly aligned with the correct AM or PM indication.
Step 5: Sync with an accurate time source
To ensure accuracy, synchronize your watch with a trusted and accurate time source. Begin by accessing an atomic clock or an online time service that is known for its precision. Find the option to sync your watch with this time source, whether it is through a physical connection or by selecting a synchronization option on your device. Follow the prompts or instructions to complete the synchronization process, making sure to note any time zone or daylight saving settings that may need adjustment. By doing this, you can be confident that your watch is consistently displaying the correct time.


Step 6: Push in the crown
Push the crown in gently to secure it tightly against the watch case after setting the correct time.
Step 7: Activate the chronograph function
If you wish to use the chronograph feature, follow these steps:
- Locate the chronograph buttons on your watch. These buttons are usually positioned at the 2 o’clock and 4 o’clock positions.
- Familiarize yourself with their functions. The button at 2 o’clock is typically used to start, stop, or reset the timing function, while the button at 4 o’clock is used to record and display the elapsed time.
- To start the chronograph, press the button at 2 o’clock. This will activate the timing function and begin measuring the elapsed time.
- If you want to pause the chronograph, press the button at 2 o’clock again. This will temporarily halt the timing function without resetting the elapsed time.
- To stop the chronograph and reset the timing function, press the button at 4 o’clock. This will bring the chronograph back to zero and allow you to start a new timing session.
Remember to consult your watch’s instruction manual for any specific details or variations in chronograph operation.
Step 8: Start the chronograph
Press the start/stop button located at the 2 o’clock position firmly with your index finger to initiate the chronograph’s function. Apply just enough pressure to activate the button, ensuring you don’t accidentally push any other buttons. Observe closely as the seconds hand swiftly starts its motion around the dial, indicating that the chronograph has been successfully started. For example, on the Tag Heuer Carrera model, press the button marked with a triangle at the 2 o’clock position to start the chronograph.
Step 9: Stop and reset the chronograph
To stop the chronograph, press the start/stop button again. This will halt the countdown and register the elapsed time. To reset the chronograph, locate the reset button, which is usually positioned at the 4 o’clock position on the watch. Press this button to return all the chronograph hands to their original positions and clear the elapsed time registers.
Step 10: Practice and explore additional features
- Practice using the chronograph by pressing the start, stop, and reset buttons in sequence to measure time intervals.
- Experiment with other features your pilot watch may have, such as a tachymeter, compass, or world time function.
- Read the instruction manual for your specific watch model to understand the functions and how to use them effectively.
- Spend time familiarizing yourself with the operation of each feature, and try them out in different scenarios to become comfortable with their functionality.
Mastering chronograph timekeeping
In summary, setting the time on a chronograph pilot watch requires attention to detail and familiarity with the watch’s functions. By carefully following the steps outlined in this blog post, you can confidently and accurately set the time on your watch. Remember to practice using the chronograph function to make the most of your pilot watch’s capabilities. Happy flying!
Necessary Equipment


Mastering the chronograph
Step-by-Step Guide to Adjusting the Date on a Chronograph Watch | Watch Pilot
Getting started with your pilot watch
- Set the time: The first step in using a pilot watch is setting the time accurately. Look for the crown on the side of the watch and gently pull it out to adjust the time. Rotate the crown clockwise or counterclockwise until the correct time is displayed, then push the crown back in
- Understand the features: Pilot watches often come with a range of features specifically designed for aviators. Familiarize yourself with these features, such as a chronograph (stopwatch function), GMT (dual time zone display), or slide rule (flight calculation tool). Refer to the watch manual or search online for instructions on how to use each feature
- Learn the bezel: The bezel on a pilot watch can be used to track additional information like elapsed time or coordinate conversions. Take the time to understand how to rotate the bezel and use it to your advantage. Some watches might have a bidirectional bezel, while others might be unidirectional. Studying how to manipulate the bezel will enhance your watch’s functionality
- Practice with the chronograph: If your pilot watch has a chronograph function, practice using it before relying on it during flight. Learn how to start, stop, and reset the stopwatch feature, as well as how to read the elapsed time on the chronograph sub-dials. Understanding these functions will allow you to time various activities while flying
- Use the watch as a backup: Pilot watches are not just for telling time; they can also serve as a reliable backup in case of instrument failure. Familiarize yourself with how your watch can be utilized to measure airspeed, altitude, or even calculate fuel consumption. While it’s crucial to rely primarily on the airplane’s instruments, knowing how to use your watch as a backup tool can be invaluable in emergency situations
- Remember, these guidelines are meant for beginner pilots using pilot watches. Always refer to the manufacturer’s instructions and consult with an experienced pilot or instructor for any specific details or questions related to your particular watch model
Frequently Asked Questions about Pilot Watches
What are pilot watches and what distinguishes them from other types of watches?
Pilot watches, also known as aviator or aviation watches, are timepieces specifically designed for pilots and aviation professionals. These watches possess certain features and characteristics that distinguish them from other types of watches.
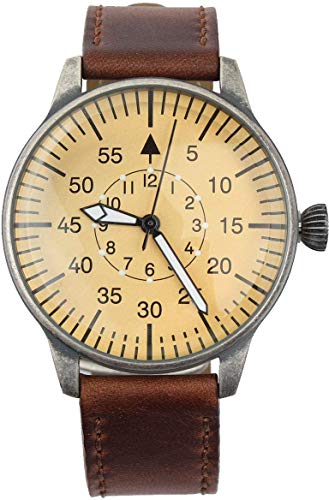
- Large and easy-to-read dials: Pilot watches typically have large dials with clear, highly contrasting markings, making it easy for pilots to read the time at a glance. This is crucial for quick and accurate timekeeping during flight.
- Flieger-style design: Pilot watches often draw inspiration from the classic Flieger watches used by German aviators in the early 20th century. They typically have clean, minimalist designs with bold Arabic numerals and luminous hands for enhanced readability.
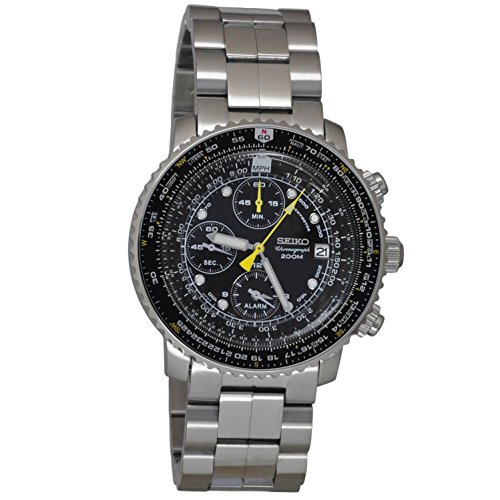
- Chronograph functions: Many pilot watches incorporate chronograph complications. These additional features allow pilots to measure elapsed time, track flight durations, and perform navigational calculations accurately.
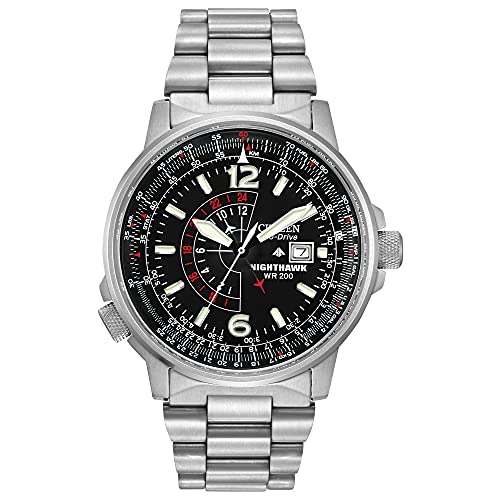
- GMT or dual-time function: To assist pilots across different time zones, pilot watches often include GMT or dual-time functions. This enables pilots to keep track of two different time zones simultaneously, which can be helpful for flight planning and coordination.
- Reliable and accurate movements: Pilot watches are equipped with precise movements, such as automatic or quartz movements, to ensure accurate timekeeping even in challenging environments. They are often built to withstand the rigors of the cockpit, including variations in temperature, vibration, and magnetism.
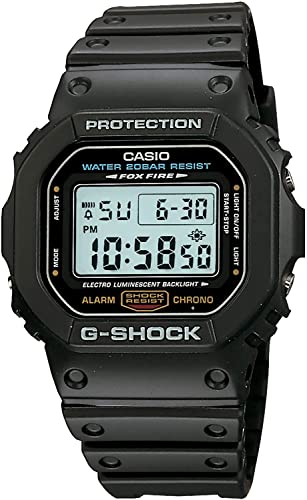
- Practical and durable construction: Pilot watches are typically constructed with durability in mind. They often feature robust cases made of stainless steel, with scratch-resistant sapphire crystals to protect the dial. Additionally, they may have features like water resistance and shock resistance to withstand the demands of aviation.