Introduction — Why Fit a NATO Strap?
Master fitting a NATO strap in minutes with this friendly, practical guide that helps you feel confident and competent. I’ll walk you through tools, safe removal, clean installation, adjustment tips, and finishing touches for a neat, secure, professional-looking fit today.
Requirements — What You’ll Need
How to Install a NATO Strap on Your Watch: Quick Tutorial
Step 1 — Prepare Your Watch and Workspace
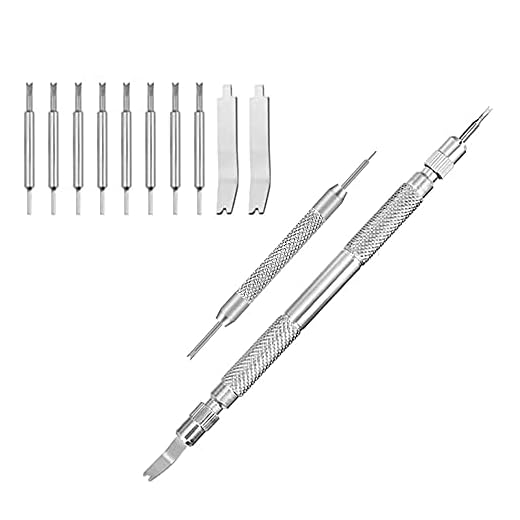
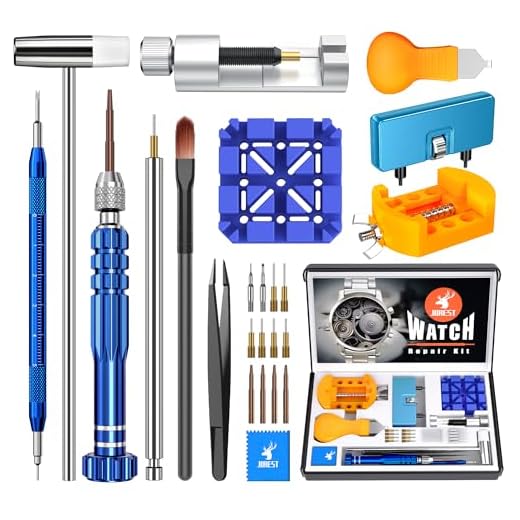
Prep like a pro: a few minutes now prevent costly scratches later.Lay out a clean, well-lit workspace and gather tools: spring-bar tool, spare bars, soft cloth, calipers or ruler, jeweler’s loupe, and a small tray for parts.
Wipe the watch and strap with a microfiber cloth to remove dust and oils. Inspect spring bars for bends, cracks, or corrosion; replace any damaged bars. If you lack spares, measure lug width precisely with calipers (or a ruler to the nearest millimeter) so replacements fit snugly.
Remove the strap buckle and folded tail from packaging and match strap length to your wrist roughly — it’s easier to shorten later. Place the watch face-up on a soft pad (microfiber or a folded towel) to prevent scratches. Take a clear photograph of the watch orientation for reference before you begin.
Step 2 — Remove the Existing Strap or Bracelet
Careful removal matters — one slip can ruin polished lugs; here’s how to avoid that.Compress the spring bar inward toward the case lug using a spring-bar tool or a small flat screwdriver with controlled pressure. Work slowly to avoid slipping and scratching the lugs or crystal.
Remove solid end links first on metal bracelets to expose the spring bar. Keep fingers clear of the spring bar path; compressed bars can pop free unexpectedly. Catch released bars in a dish or on a soft cloth to prevent loss.
Apply a little penetrating oil and gently work the bar side to side for stubborn bars — never force the bar straight out. Stop and consult a tutorial or a watch technician if the bar won’t budge to avoid damaging delicate finishes or hollow links.
Label removed parts and lay them in order to simplify reassembly and reduce frustration later.
Quick tips:
Step 3 — Thread the NATO Strap Correctly
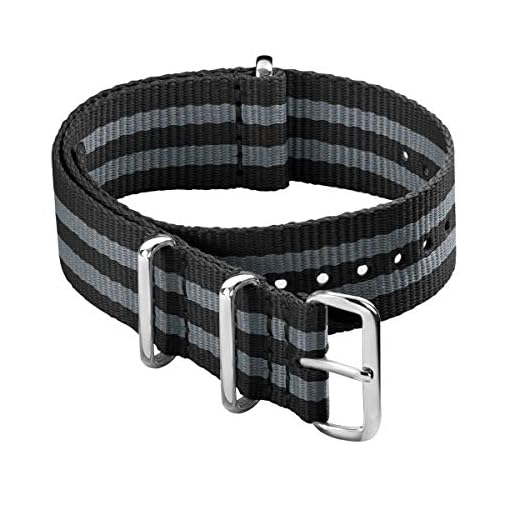
This tiny routing trick stops your watch sliding out — you’ll wonder why you didn’t learn it sooner.Orient the strap so the buckle faces the clasp side of the watch when worn (for example, buckle toward your left wrist if you wear the watch on that wrist).
Slide the long strap end through the top spring-bar gap from the watch face, pull it across the case back, and feed it through the bottom spring-bar gap. Keep the fabric flat and free of twists as you work.
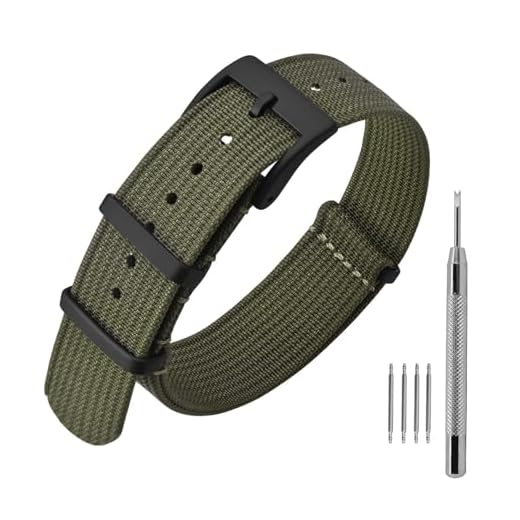
Thread the long tail through the keeper loops so they sit neatly; if your NATO has a secondary tuck-under piece, pass the tail through it for extra security. Pull the strap snug so the watch head centers on the fabric—think of centering a belt buckle.
Check these points:
Step 4 — Adjust Length and Secure the Fit
Not too tight, not too loose — the Goldilocks fit keeps the watch comfortable and safe all day.Fasten the buckle and test different holes until the watch sits snug but not tight; aim for comfortable movement without excessive rotation.
Slide the tail through the keeper loops and fold any excess back under the strap’s rear piece if present.
Trim very long tails carefully and seal the nylon edge with a lighter to prevent fraying.
Confirm the spring bars are fully seated—compressed or misaligned bars cause most strap failures.
Put the watch on and wear it for a few minutes, making micro-adjustments as needed.
Check sizing while standing, walking, or gripping objects—what feels fine when seated can pinch during a handshake.
Important checks:
Step 5 — Ensure Security and Minimize Wear
Want a strap that lasts? These simple checks cut failure risk dramatically.Verify the strap lies flat against the case back and that keepers hold the tail firmly. Press each lug gently to double-check spring bar seating; there should be no vertical play. Rotate the watch through normal activities (shake hands, bend your wrist) to confirm it won’t slide off.
Use reinforced or thicker heat‑treated spring bars for heavier watches (e.g., 1.6–1.8 mm on large cases). Avoid harsh chemicals and prolonged moisture; rinse and air dry after salt water. Clean nylon straps with mild soap, air dry, inspect edges for fraying, modestly trim loose fibers, and replace the strap at the first sign of significant wear to prevent sudden failure.
Step 6 — Style Tips and Long-Term Maintenance
Switch straps, not style — smart choices keep your watch fresh and resale-friendly.Match strap width to lug width and use color contrast with the dial for visual punch.
Choose thinner 18mm or 19mm NATOs for vintage or dress watches and thicker 20–22mm variants for tool watches; for example, pair an 18mm leather‑lined NATO with a vintage Seiko.
Rotate straps regularly to extend fabric life and let wet straps dry fully in a cool, ventilated place—never store damp straps.
Remove the strap occasionally and clean lugs and spring bars to prevent grime buildup that accelerates wear.
Store original bracelets safely and alternate wearing to preserve resale value.
Buy replacements from reputable makers with solid stitching and corrosion‑resistant hardware.
Invest in quality and care to keep your watch looking intentional and ready for daily adventures.
Conclusion — Final Thoughts and Next Steps
Follow these steps to fit a NATO strap confidently, minimize wear, and enjoy improved comfort and security; try it, adjust regularly, and share your results and photos to inspire others.


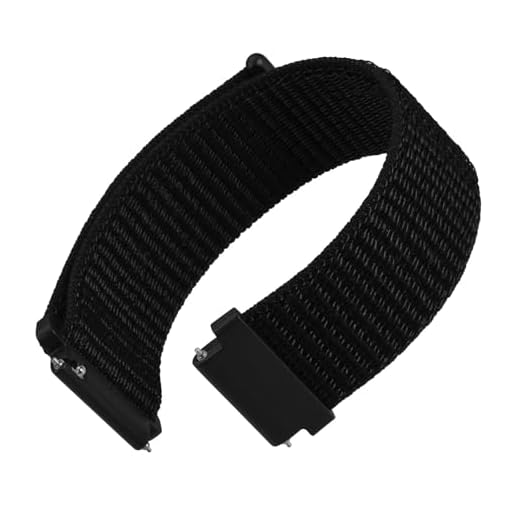
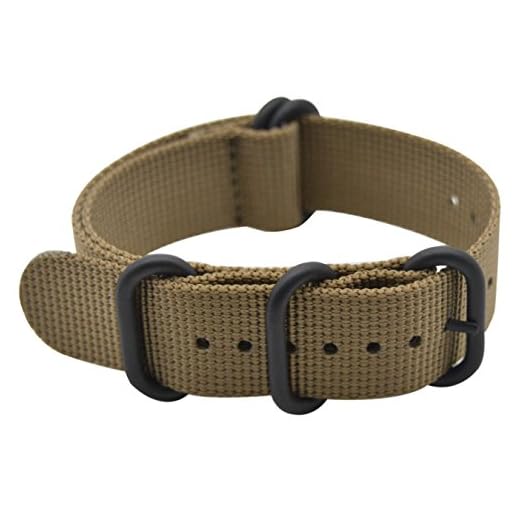

Helpful guide overall. A couple of critiques:
– Step 3 pics could show the underside threading for clarity
– Step 5: mention using a backup strap during rough activities (I rotate mine)
Also, does anyone else notice metal hardware rubbing the case back? Small scratch after a month of wear.
Metal hardware can be sharp on cheaper NATOs. I sanded the edges lightly on a spare piece and it stopped scratching. Ymmv.
Good tip Liam. I might try the microfibre pad first — less permanent. TY!
Thanks Karen — I’ll add underside threading photos and a note about swapping to a backup strap for rough use. For the rubbing: check that the hardware is smooth and the strap sits flush; if not, a thin microfibre pad between the case back and strap can help, or use rounded hardware.
Also worth checking spring bar length — oversized bars can tilt the watch and increase rubbing. Keep an eye on fit.
Nice guide — helped a lot with Step 2. I struggled getting the bracelet off my Seiko without scratching it, but the paperclip trick from the guide worked after a couple tries. Wish there were clearer pics for the spring bar angle though.
Agree on the pics. Also, a blunt spring bar tool tip is less scary than the sharp ones — less chance of slipping.
If anyone else is nervous, use a small piece of masking tape over the lug to protect the case while levering the bar. Saved my finish last week!
Thanks, Laura — good point about the photos. I’ll add a close-up of the spring bar angle in the next update. If you have a loupe or magnifying glass, that helps a lot when pushing the bar in.
Good article, but feels a bit lightweight on long-term wear — Step 5 mentioned minimizing wear but didn’t list how often to check spring bars. How often do you all inspect them?
Great question. I recommend a quick visual/physical check every 1-3 months for daily-worn pieces, and before activities where a lost watch would be a problem (diving, climbing). Replace spring bars every 1-2 years or sooner if you see rust/wear.
I check mine monthly and carry a spare pair of spring bars when I travel. Saved me once when one squeaked loose during a hike.
Quick question: can I safely trim the excess tail of a NATO and melt the edge? I don’t want to ruin the warranty or anything.
You can trim and heat-seal the nylon tail — that won’t affect a watch warranty. Just be careful not to heat the watch head or its gaskets. Work a few inches away and only melt the strap’s edge.
I trimmed mine and used a lighter like Rebecca suggested. If you’re unsure, get a pro strap maker to do it — cheaper than worrying about messing it up.
Threading the NATO felt like trying to feed a stubborn noodle through a tiny ring. 😂 Took me 10 mins but once you get the rhythm it’s smooth. Pro tip: fold the end slightly to make it stiffer.
Totally — I use a paperclip to form a tiny hook and it pulls the strap through super fast. Less noodle drama.
Ha — ‘stubborn noodle’ is a great description. Folding the end is a classic trick; I also recommend a small clothes peg to hold the fold when threading thicker straps.
Love the style tips section — gave me the confidence to mix colours.
Also:
– try a slimmer NATO on smaller watches
– experiment with single-pass vs double-pass
– a leather keeper can elevate the look
PS: the guide’s maintenance tips are lifesavers. 👍😊
George — check out Etsy or small watch strap makers on Instagram. I found a handmade leather keeper for $12 that looks and smells premium.
Thanks Olivia — great practical pointers. I’ll expand the single vs double-pass examples and include keeper recommendations for different watch sizes.
Added note: avoid leather keepers for frequent water exposure — nylon or TPU is better for swimmers.
Leather keeper recs? I’d love a few affordable options that don’t look cheap.
Try a navy strap with a tan leather keeper — classy AF. 😉
Okay, long-ish post because I had a full meltdown at first but now I’m hooked.
1) Prepare: cleared a flat table and put down a towel like the guide suggested — saved my crystal.
2) Remove: the spring bars on my vintage piece were stubborn; took longer than the guide’s 2 minutes estimate.
3) Thread: followed Step 3 exactly and the watch sits perfect now.
4) Adjust: I trimmed the tail a bit and heat-sealed the end so it doesn’t fray.
Final thought: Loved the styling tips — paired a grey NATO with brown boots and it looks awesome. Thx!
Which heat method did you use to seal the end? Lighter or a heat gun? I’m nervous about melting too much.
Thanks for the detailed write-up, Rebecca — really useful for folks with vintage watches. Good call on heat-sealing the tail (use low heat and be careful). I’ll add a short note about older spring bars requiring extra patience.
I used a lighter very briefly — just a quick pass until the nylon melts and sticks together. Do it outdoors and don’t linger, you’ll smell it but it’s fast. 🔥
Adding: If anyone’s uncomfortable with a lighter, a soldering iron at low temp is a gentler, more controlled option.
Short and sweet: followed the guide, my watch feels 10x more comfortable and looks way better. Thanks!
Pics or it didn’t happen 😄 Seriously though, post one, I’d love to see the combo.
Awesome — glad it worked out! Any chance you’ll share a photo of your setup in the comments later?